Montessori?
I've been doing a lot of research on different homeschool philosophies, and while I know that I don't want a true "curriculum," there are still a lot of options. I like the flexibility of "unschooling" and choosing themes or units based on whatever M is interested in at the moment. Montessori fits very well with its "follow the child" theme. I like the idea of making activities and presenting them on cute trays - it appeals to my crafty side. I also like the fact that children are not pushed to complete any activities they aren't interested in - it's like a buffet where they can pick and choose what they like.
I've decided to give it a try, so I jumped right in and created some Montessori-inspired ocean activities. Most of these I found online, and I altered some to better match M's current interests and abilities. I was pleasantly surprised by how interested M was in these activities.
I'll categorize them based on the types of Montessori activities: Practical Life, Sensorial, Language, and Mathematics.
Getting Started
I have a tendency to jump into things with both feet and I can get a little carried away. I think that may have happened here.... Let me show you what I have done over the past week and a half.
- Research - I ordered a couple of Montessori books for my kindle (The Absorbent Mind by Maria Montessori, Teach Me to Do It Myself by Pat Thomas, Montessori at Home by John Bowman)
- I made a trip to Target and Dollar General to gather up some supplies.
- I read some blogs - Counting Coconuts, What DID we do all day?, 1+1+1=1, Chasing Cheerios
- I ordered some stuff from Oriental Trading (like these trays), bought some more stuff from Family Dollar, Walmart, Mast General...
- Saved and printed lots of free printables from sites like Montessori Print Shop, Montessori for Everyone, and 3 Dinosaurs.
- Made some of my own materials - especially 3 part cards using this free template and Google images.
- Went crazy with my paper cutter and laminator....
A couple of notes -
First, as a newly "retired" teacher, I had a lot of supplies (especially craft supplies) already on hand. I have a ton of colored paper, small containers, scissors, glue, stamps, laminating supplies, etc. I also used to scrapbook a lot, so I have some of those supplies as well (like the paper cutter). A lot of this would have been harder and/or more expensive if I didn't already have these supplies on hand.
Also, I wanted our materials to look nice. One of the themes of Montessori is having a neat, clean environment (the "prepared environment") to help interest children and teach them to care for their learning materials. I backed most of the printed materials with colored paper and then laminated them to make them look neater and make them less likely to get damaged. M is actually really careful with most of her things (she always has been - even as a baby), so I wasn't really concerned that she would purposely damage them, but it is difficult to not crumple or bend pieces of paper as you move them around. I don't think it was necessarily required that I prepare the materials like this (and honestly, I probably won't do this for ALL of the materials), but I thought it was nice to set a tone for the first set of materials.
I will tell you that it was pretty time-consuming to prepare everything. I personally enjoy doing things like this (similar to scrapbooking). If you don't enjoy this, DON'T DO IT! It is so important not to pressure children at this age (or any age, in my opinion) - as John Bowman said in his book, "Early learning should be a natural, fun process of exploration, discovery, and gradual mastery of skills.
Pressure and stress have no place in early learning." I'm not going to lie - I spent a lot of time making the 3-part cards and was disappointed that M hasn't even looked at them. But in the end, I'm ok with that. I want her to use what is right for her at this point. Make sure you can be ok with that before you start on a project like this!
Here's what I ended up with -
 |
| Bench in our dining room-turned-playroom with our new Montessori trays and baskets |
 |
| Counting ocean animal stamps, pouring / transferring sand, cutting and gluing practice |
 |
| Flubber and ocean animals, Ocean-theme 3 part cards, Counting cards, Finding differences, Patterns |
 |
| Ocean theme Play-doh |
 |
| Pre-writing practice, Finding differences |
Practical Life
I guess Practical Life is kind of like what I was calling "World Around Me." These are the basic life skills that everyone needs (or should know) - cooking, cleaning, tying your shoes, putting on clothes, pouring a drink, etc.
Going with the "unschooling" theme, I thought I would throw in a couple of non-staged Practical Life activities. There are so many things we do on a regular basis that would fall in this category (cleaning up after yourself, helping to cook or make a snack, helping in the yard, etc.). The Montessori Practical Life activities are fun because they isolate a skill to work on and make it like a game, but I still think it's just as important (if not more important) for a toddler to participate as a member of the family and help with whatever they are developmentally able to do!
 |
| Making an almond butter and jelly sandwich on an English muffin. |
 |
| Brushing teeth |
Here are our new Montessori Practical Life activities:
We started with a basic transfer activity. I bought this "ice cream cup" set from the dollar store, and already had some colored sand and a small dustpan and hand broom. I demonstrated how to scoop the sand from one cup to the other using the small spoon. M tried this a few time, but found it inefficient, so she decided to pour the sand back and forth between the cups.
This was a really big hit, and she took it back out several times throughout the week - who knew pouring sand was so much fun?? She also loved using the dustpan to clean up her spills... and *may* have had a few non-accidental spills so she could do some more cleaning!


She had so much fun with the sand transfer activity that I decided to let her try pouring water. I gave her a small measuring cup (plastic - light weight) and a few shot glasses (I know, I know.... but they were the perfect size!). She had SO much fun with this! She spent about 30 minutes pouring mini glasses of water for herself, me, and several of her stuffed animals. I gave her a dish cloth to clean up spills. There were quite a few spills, so this is not the activity to try when you're short on patience (or maybe try it outside!). We went through four dish cloths, and finally packed it up after one final large spill - otherwise she might still be sitting at the table pouring water!
Next, I printed off these cutting practice strips from the
3 Dinosaurs Ocean Pack (we were out of color ink at the time, so I printed in black and white for her to color). I put them in a container with a pair of safety scissors, a glue stick, a few markers, and a folded piece of colored paper. I demonstrated how to use the scissors with her thumb on top (like you're shaking hands) to cut one picture off the strip, then put glue on the back and stick it on the folded paper. My hope was that she would glue and color the pictures and we could mail the "card" to someone (and she did!).
Sensorial
I think this would also fall under the "World Around Me" category I had created. These are activities that help a child use their senses - see, touch, taste, smell, hear. Most of the classic Montessori materials fall in this category (the pink tower, the brown stair, etc). There are also a lot of moms (and dad?) who make sensory bins that would fit in this category (boxes filled with rice or sand and other small objects). I have plans to make a sensory bin with ocean materials next
week. If things continue like they have been for the past week or so (with M
enjoying the Montessori-style activities), I will probably invest in a set of
the classic Montessori materials as well.
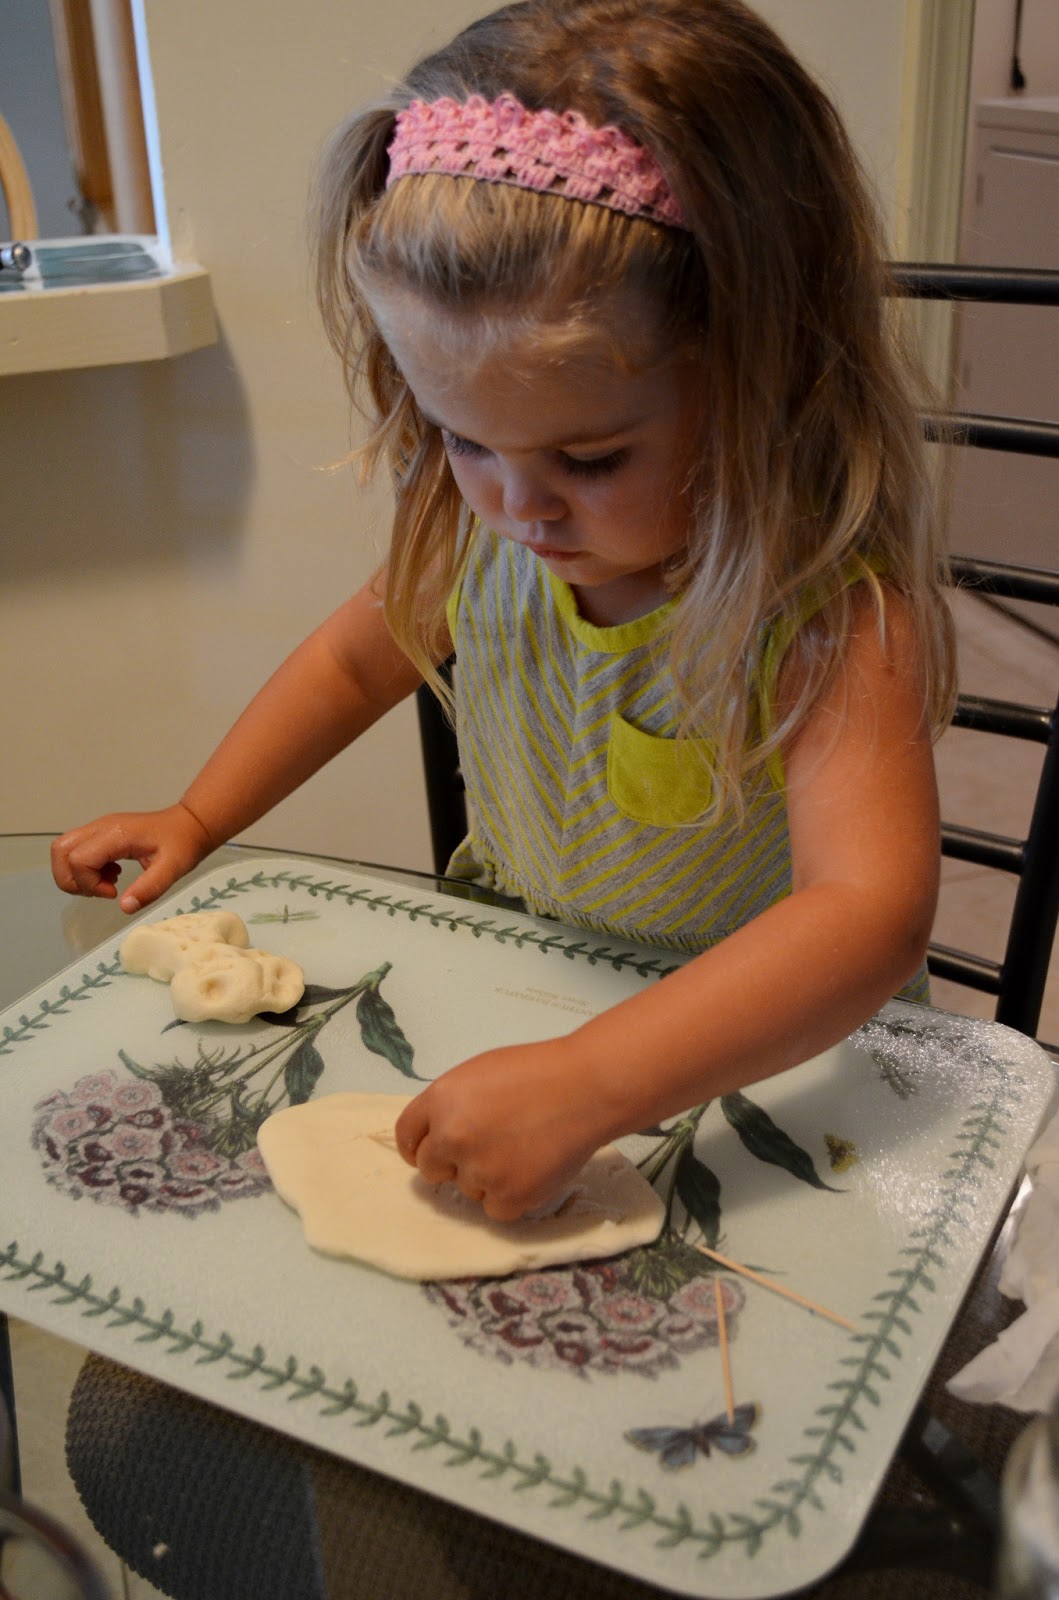
We started with some salt dough (
recipe) and sea shells. We made impressions in the dough with different shells to compare the textures. M got bored with that pretty quickly. I randomly grabbed a few toothpicks, and that was a much bigger hit! I showed her how she could use the toothpick to scratch lines into the dough (I wrote her name). We also rolled little spheres and stuck them on the toothpicks like beads. Lots of fun!
We broke out the
Flubber we made during the water unit and used it as an "ocean" for M's ocean animal figures to play in. I bought this
set of ocean animals on Amazon (it's a lot of figures, but I planned to use them for several activities). M liked that the figures would stick in the Flubber, and when she pulled them out it would leave an impression (like footprints). This was another activity that made a couple of appearances this week. (The scarf was M's "Rapunzel hair" - because she's a princess!)
Finally, I printed and laminated a
mermaid play-doh mat (I wish I had printed it in color!). I put it in a basket with a few colors of play-doh and some play-doh cutters and tools (scissors, knife, ocean animals cookie cutters). The mat must have sparked her imagination. She doesn't generally try to sculpt anything with play-doh, but she made a mermaid, a fish (Flounder), and an airplane (maybe Ariel was going on vacation?). She also mixed a couple of the colors, which she doesn't normally do. Anyway, she seemed to enjoy it and played longer than she usually does.
Language
We went to the library for a new batch of books. I didn't look up books online like I normally do, so we just browsed the children's section for story books and early readers that were related to the ocean. I'll update with a picture of all the books, but we got a nice selection of pirates, beach stories, frog and toad, etc.
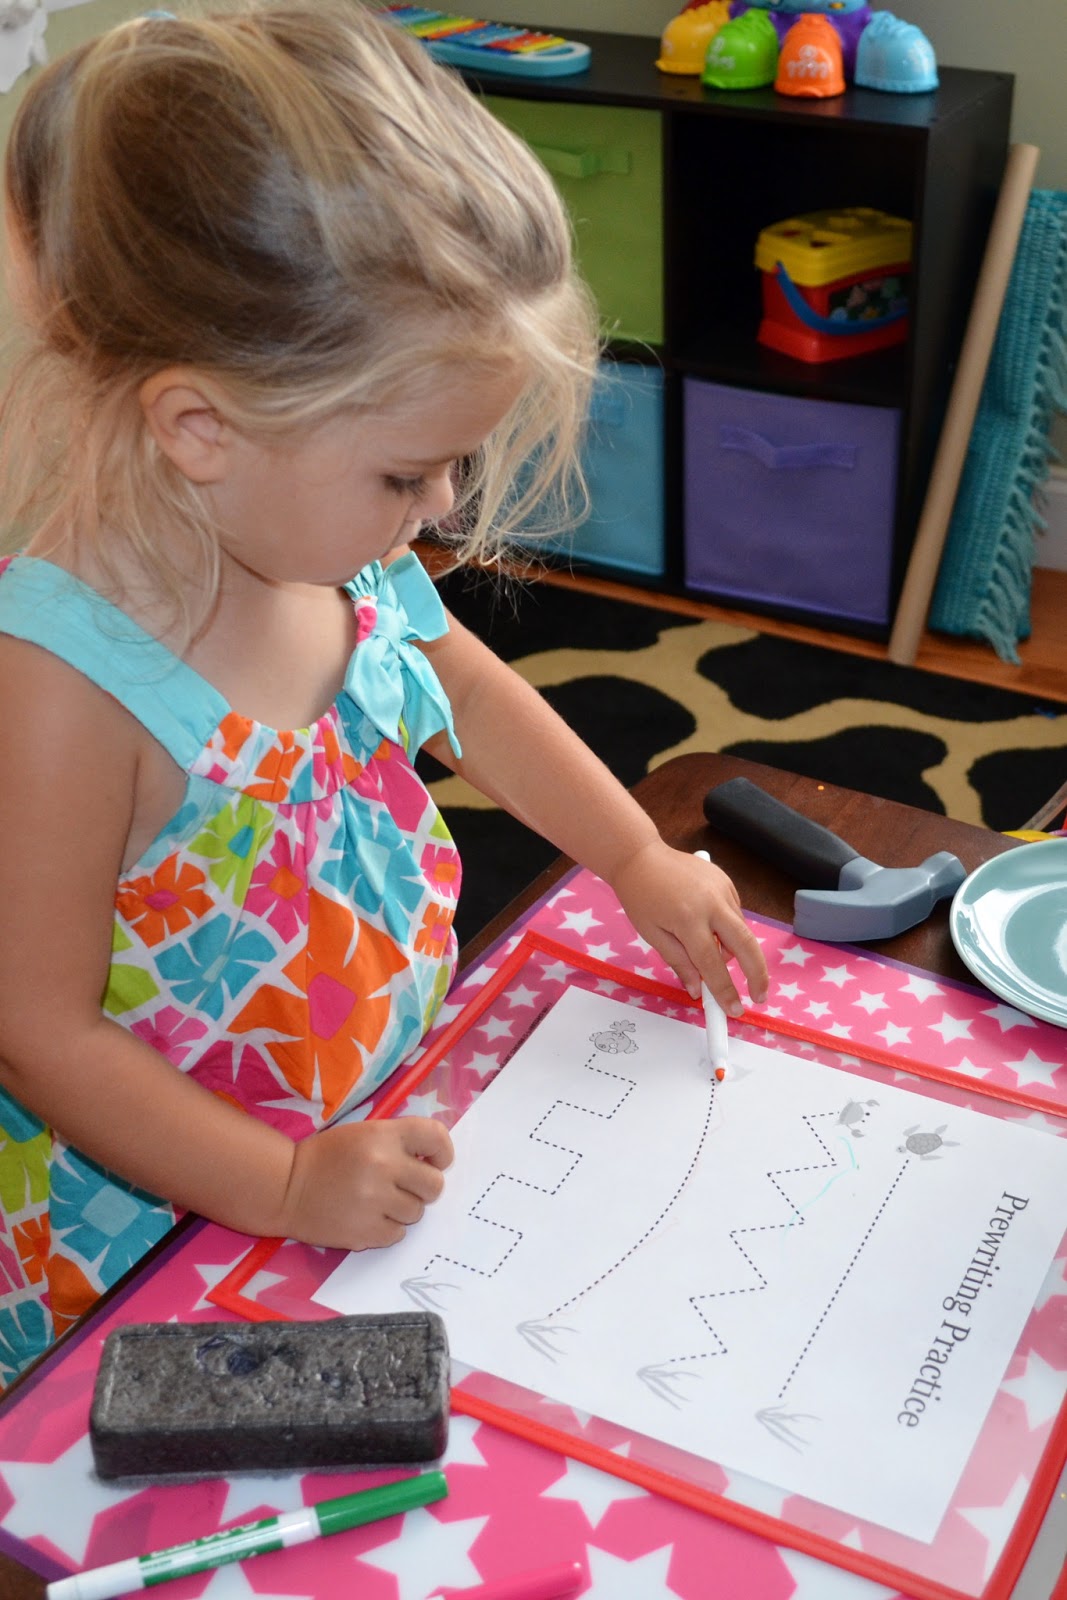
The prewriting activities are not a big draw for M right now (I think she's still a little young), but I got a couple of reusable dry erase pockets from Target's Dollar Spot (like
these, but only $1) and decided to throw a couple of printables in them. I printed the prewriting line tracing sheet and "Which one is different?" from the
Ocean Pack. M likes to use the dry erase markers, so she actually tried these. The line tracing sheet was not very exciting, so she skipped over that pretty quickly. I showed her how to find the image that was different on the other sheet, and how to draw a circle around it with the marker. The sheet was challenging for her (some of the differences were very slight, and it didn't help that I had printed in grayscale - I later colored the pictures to make the differences more obvious). She seemed to get the idea at first, but then she was having so much fun drawing circles that she just circled everything on the page - haha! Her favorite part was erasing everything off at the end.


I made 3 part cards with ocean / beach words (waves, lifeguard, dolphin, sunblock, etc.), but M has shown absolutely no interest in them so far. She likes memory / matching games, so maybe we'll try them later this week.
Mathematics
I bought a set of
ocean animal stamps from Amazon, and figured M would just use them to randomly stamp on paper or decorate as part of a collage. I gave her one of each stamp and a piece of construction paper and let her stamp away.
Then, I wrote the numbers zero through five across the top of the paper. We talked about how zero means "nothing" and so we would put no stamps under the zero. I showed her how to put one stamp under the number one, two stamps under the number two, and so on. I figured she would ignore me and continue stamping wherever she wanted, but this activity really intrigued her. In fact, we repeated it 5 more times! And she insisted on hanging two of them on the wall to display her work!
Since she liked this so much, I printed and laminated a stamp counting sheet that had boxes for numbers one through ten. I thought this would be better than "wasting" several sheets of paper since she wanted to repeat the activity so many times. Not the case... The squares threw her off, and she just wanted to stamp inside all of the boxes (she pretty much ignored the numbers across the top). Also, the stamps smeared more on the laminated paper.
The activity didn't go as I had expected, but it wasn't a waste. She opened a couple of different stamps and said "watch me make a pattern!" (She then proceeded to stamp random colors across a row of boxes, but she was trying!) She gave me a couple of stamps and we practiced making all different kinds of patterns (and guessing which stamp should go next). She also loved that she could wipe off the sheet with a wet paper towel.


Another big hit was the
counting cards set. I only gave her the numerals 0-5 and the matching quantity cards (with dots). I gave her 15 glass stones (exactly the number she would need) and showed her how to put one stone on each dot to count (one-to-one correspondence). I also printed out small ocean-theme images (one watermelon, two suns, three beach umbrellas) that she could count and put under the matching number, but she wasn't nearly as interested in those. We found that this activity worked better on the floor so she could spread out and wouldn't drop the stones on the floor.
I have a few more ocean activities planned for the upcoming weeks (we're going back to the beach next week, and will be there for most of August, so I plan to continue this theme in different forms for the rest of the summer). My Oriental Trading goodies will be here by the end of the week, and I'm hoping to create some fun activities to take with us and add to our new collection.
Check out more Montessori activities on the Montessori Monday Link-up!